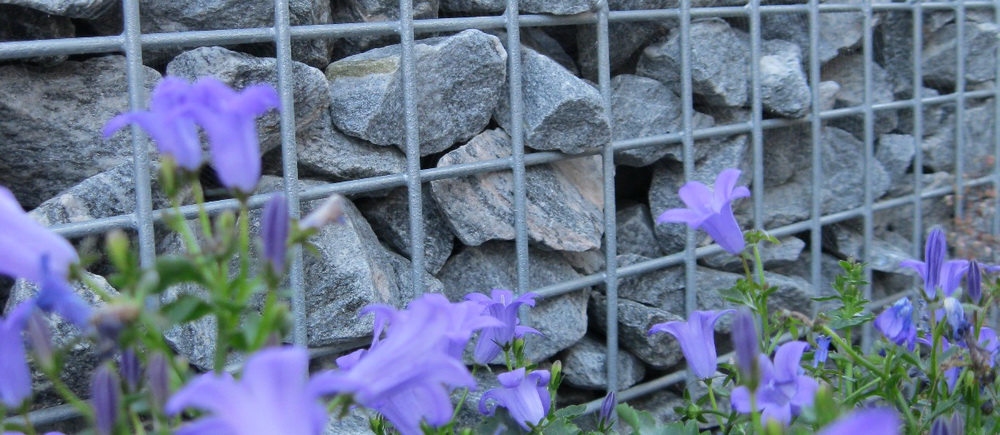
Think installing gabions is a challenge? Think again!
We will show you that the construction of gabions is not as difficult as it may seem.
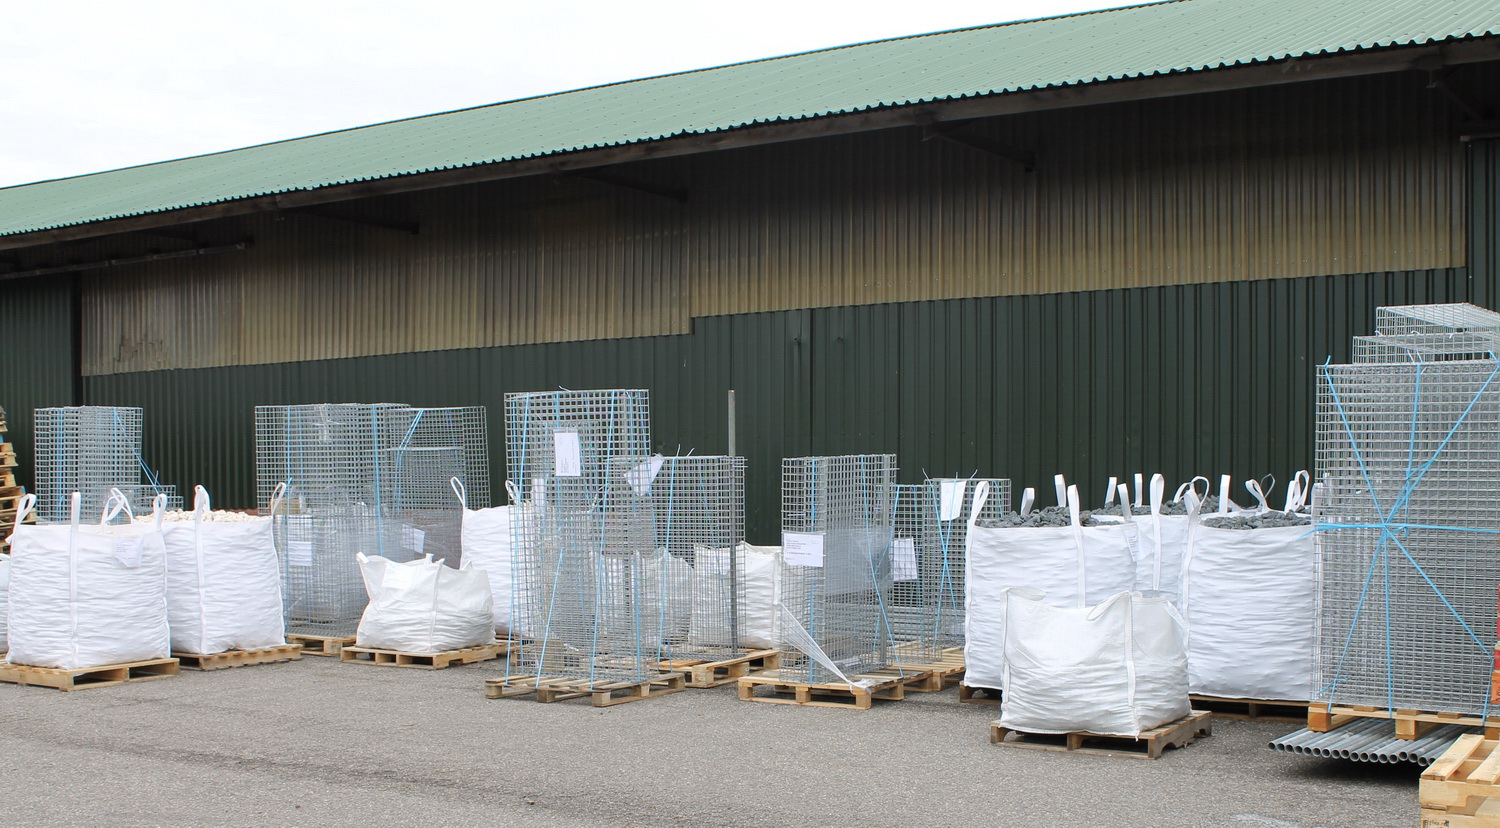
Gabinova delivers ready-made and premounted gabions. We will leave a hinged lid on top, so you can fill up the gabions with rubble stones through the upper part.
When installing, there are a few important notes to consider. For the foundation of the gabions, we recommend you to make a strip of rubble or better yet, concrete. In this way, you can prevent the gabions from descending. In case of smaller gabions with a maximum height of 1 meter and a maximum width of 30 centimeters, which you would use as a garden fence, you do not need to use scaffolding pipes. These gabions can be placed on old paving stones with dimensions of 30 x 30 cm, for example. In case you are working with gabions that are higher than 1 meter, they need to be stabilised with hardwood poles or preferrably scaffolding pipes. We can also advise you with regards to installing the gabions, though the installation and construction method is always your own responsibility, because it is impossible for us to assess your on site situation.
Step 1:
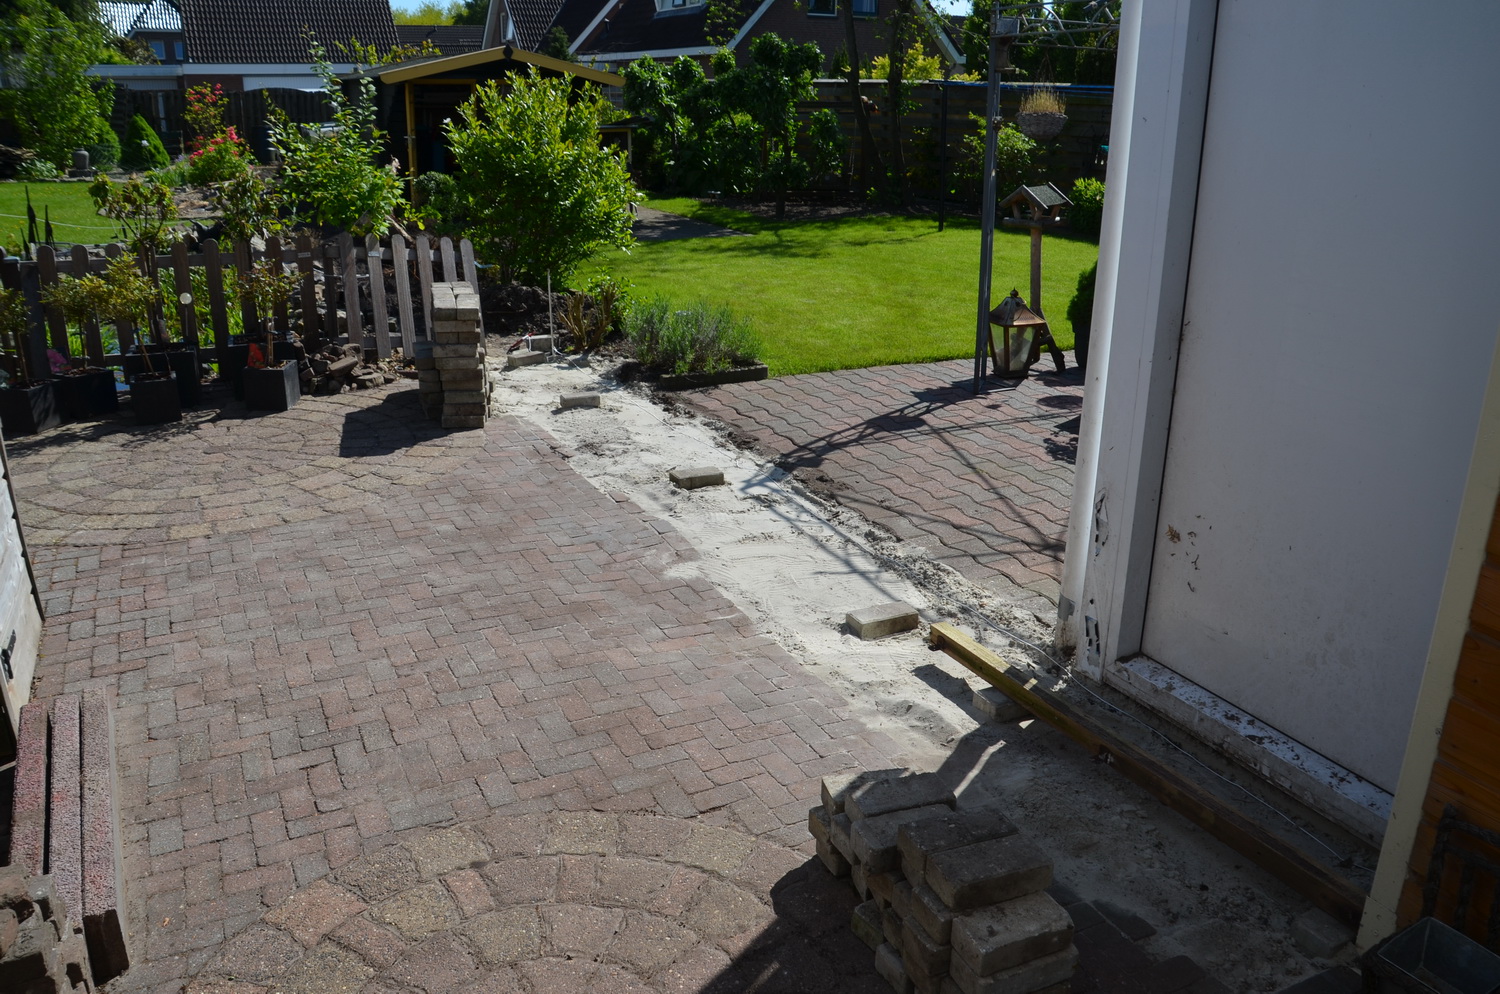
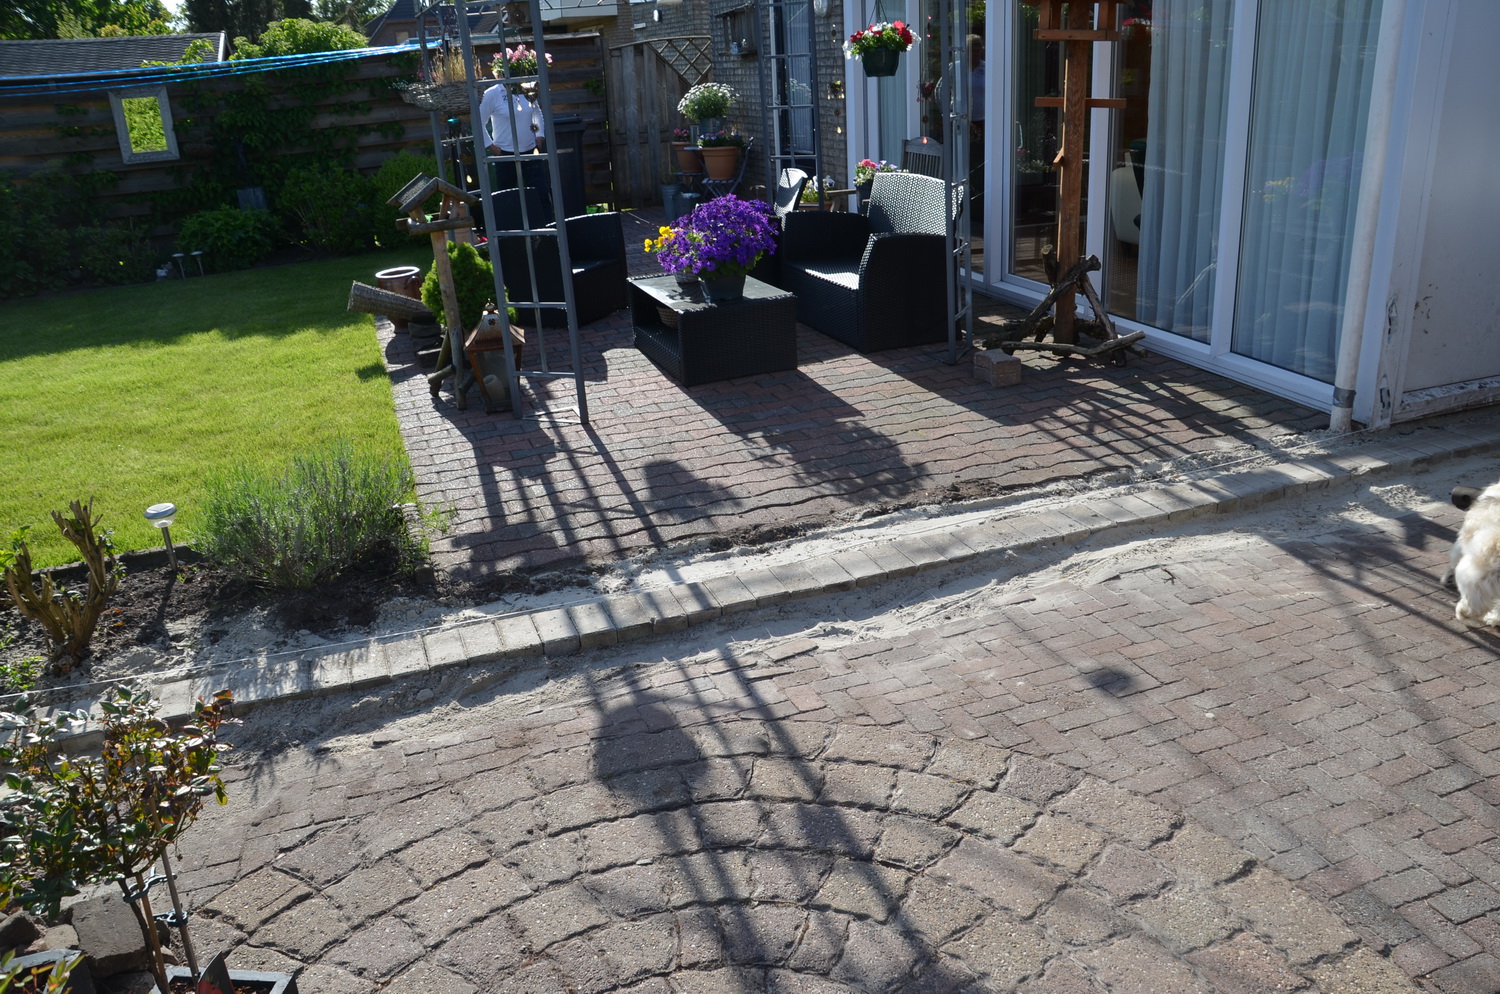
Making a foundation strip:
You can make the foundation by using old bricks or paving stones. Another alternative is to make a foundation out of concrete. Any necessary scaffolding pipes can be poured at the same time.
Step 2:
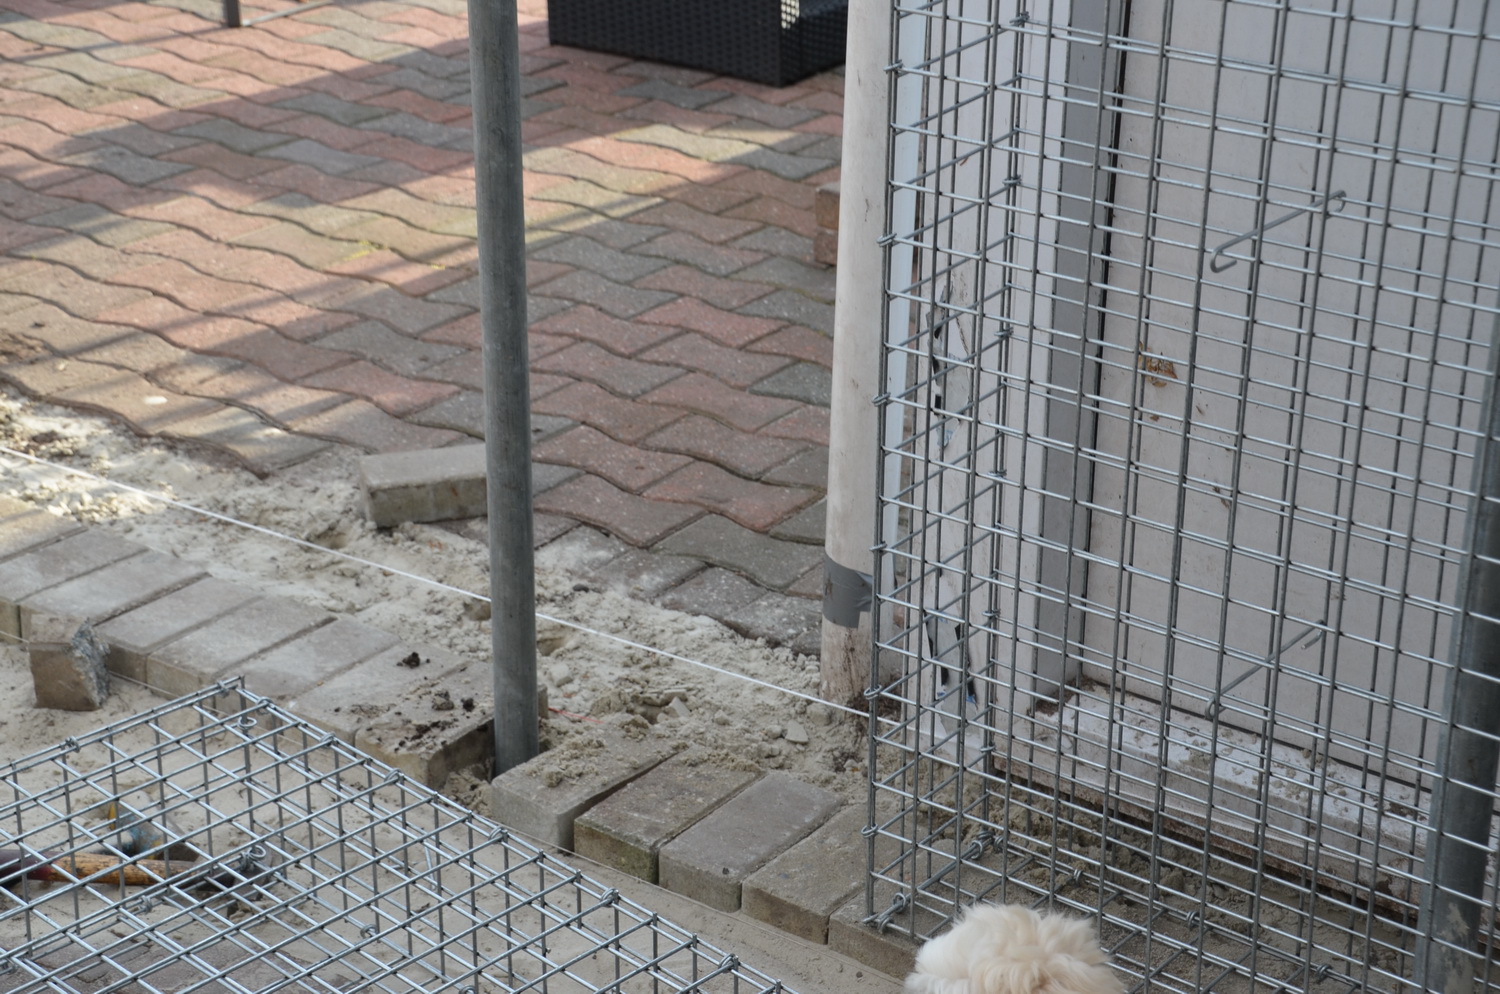
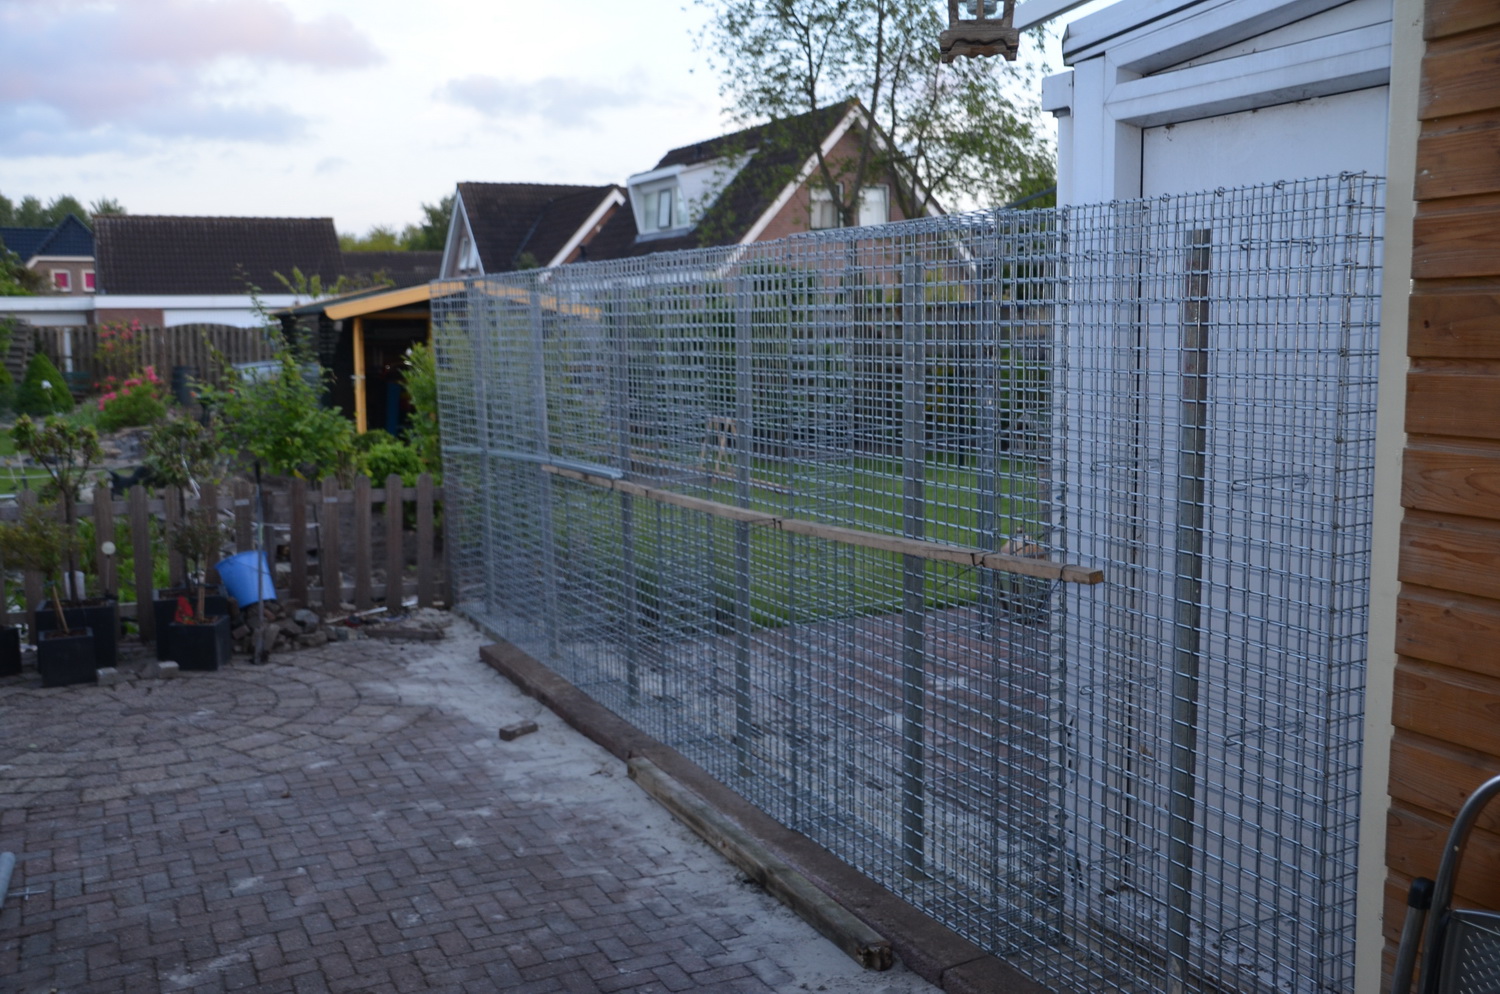
Placing empty gabions.
After installing the foundation or curing the concrete, you can start placing empty gabions. During this process, some meshes at the bottom of the gabion need to be cut. After doing this, you can simply place the gabion on top of the scaffolding pipe. After filling up the gabion with rubble stones, the scaffolding pipes will not be visible anymore.
Step 3:
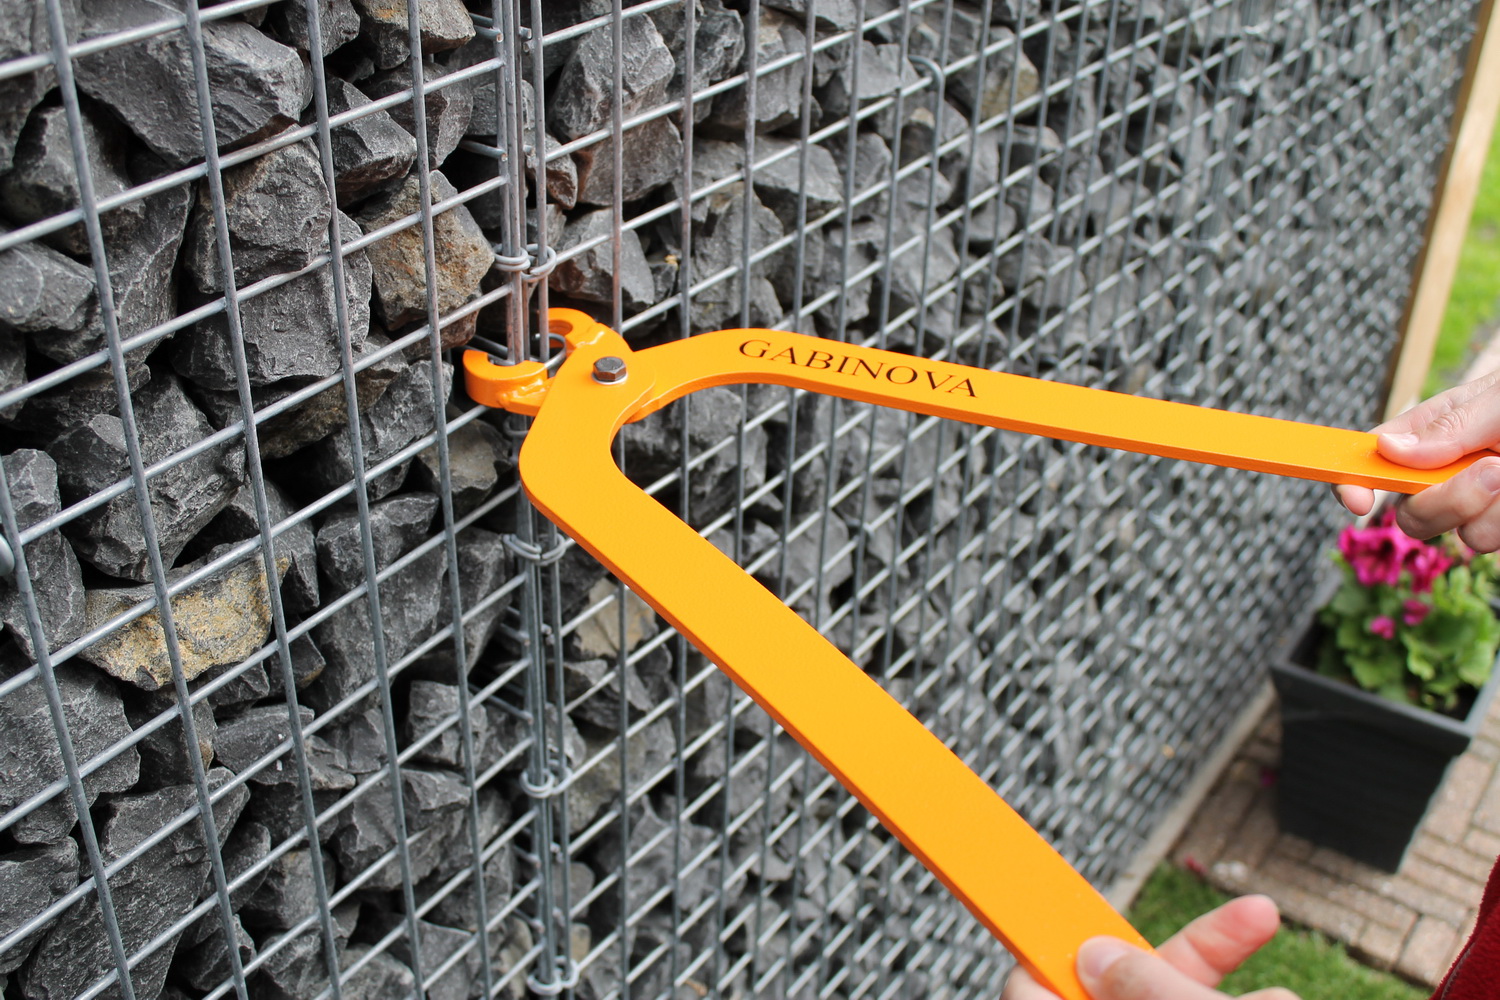
Interconnecting gabions with the included C-rings.
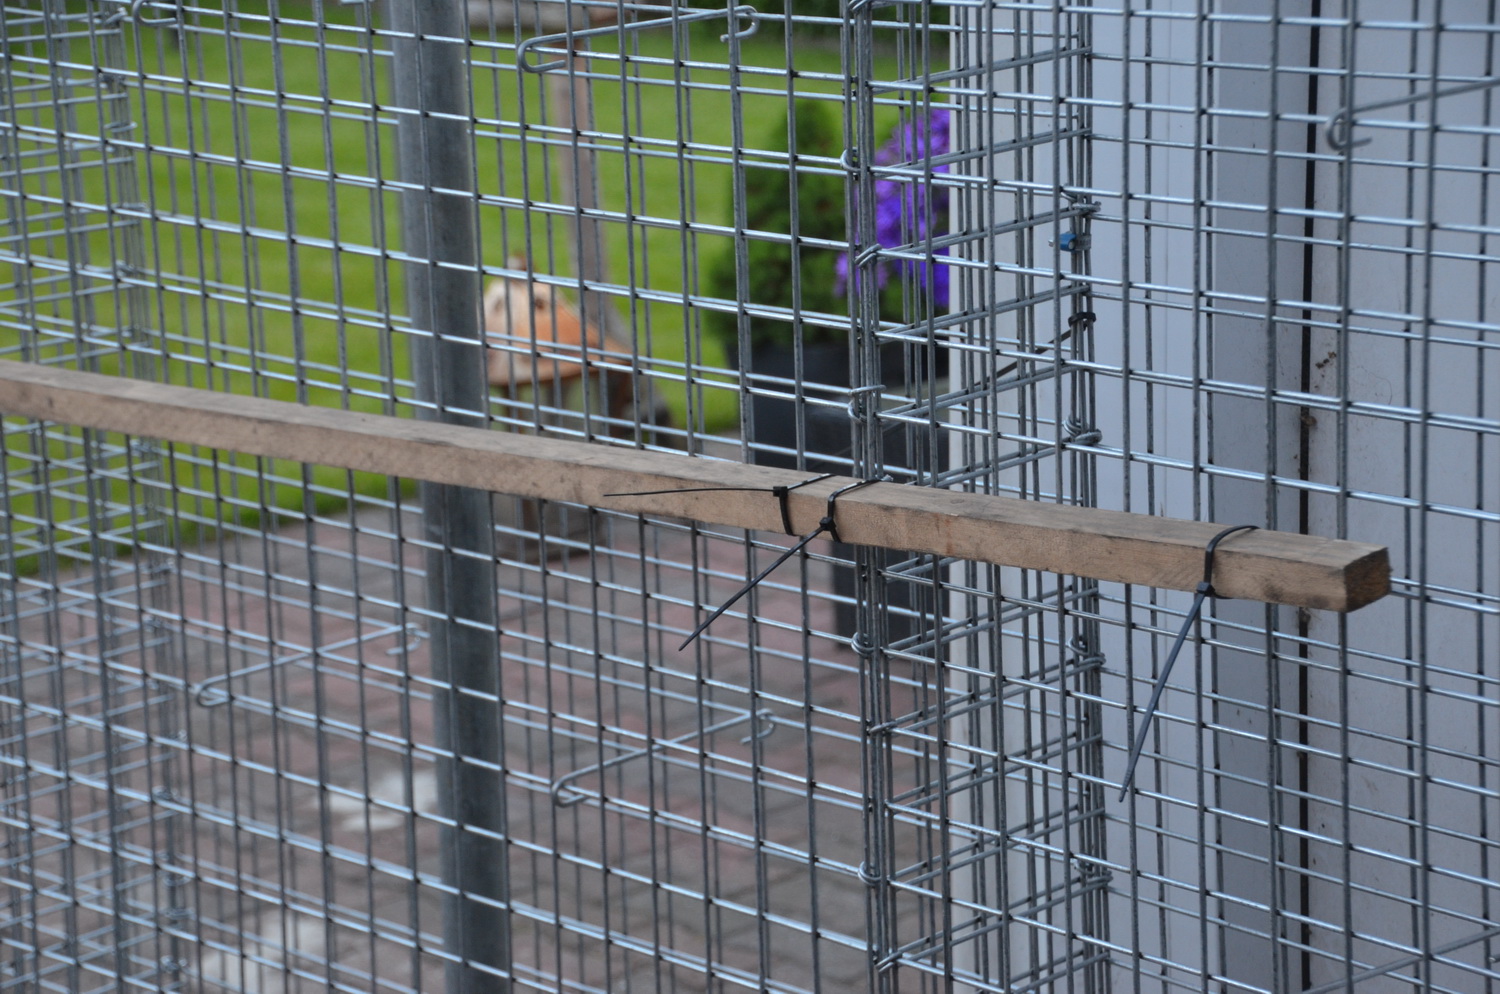
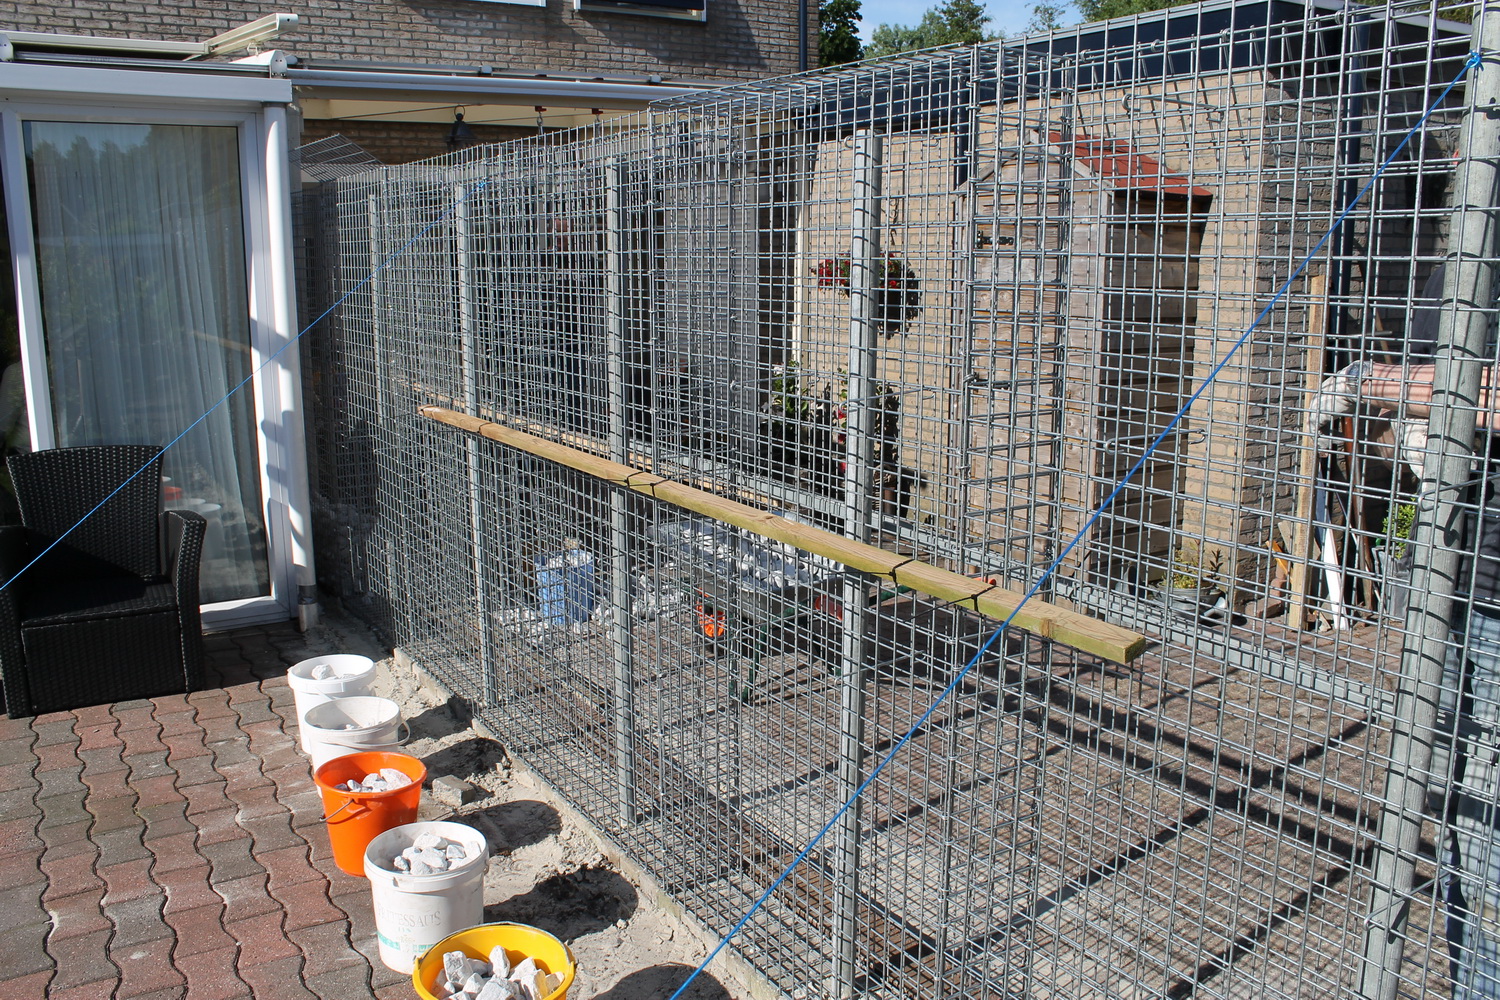
By connecting the gabions with the included C-rings, they are immediately joined securely. You can also use tyraps to attach a batten to the outer part of the gabion. By doing so, the gabions will be placed in a straight line. The tyraps need to stay attached to the gabions during the filling process. After this, you cut the tyraps and remove the batten. This provides you with a clean end result.
Step 4:
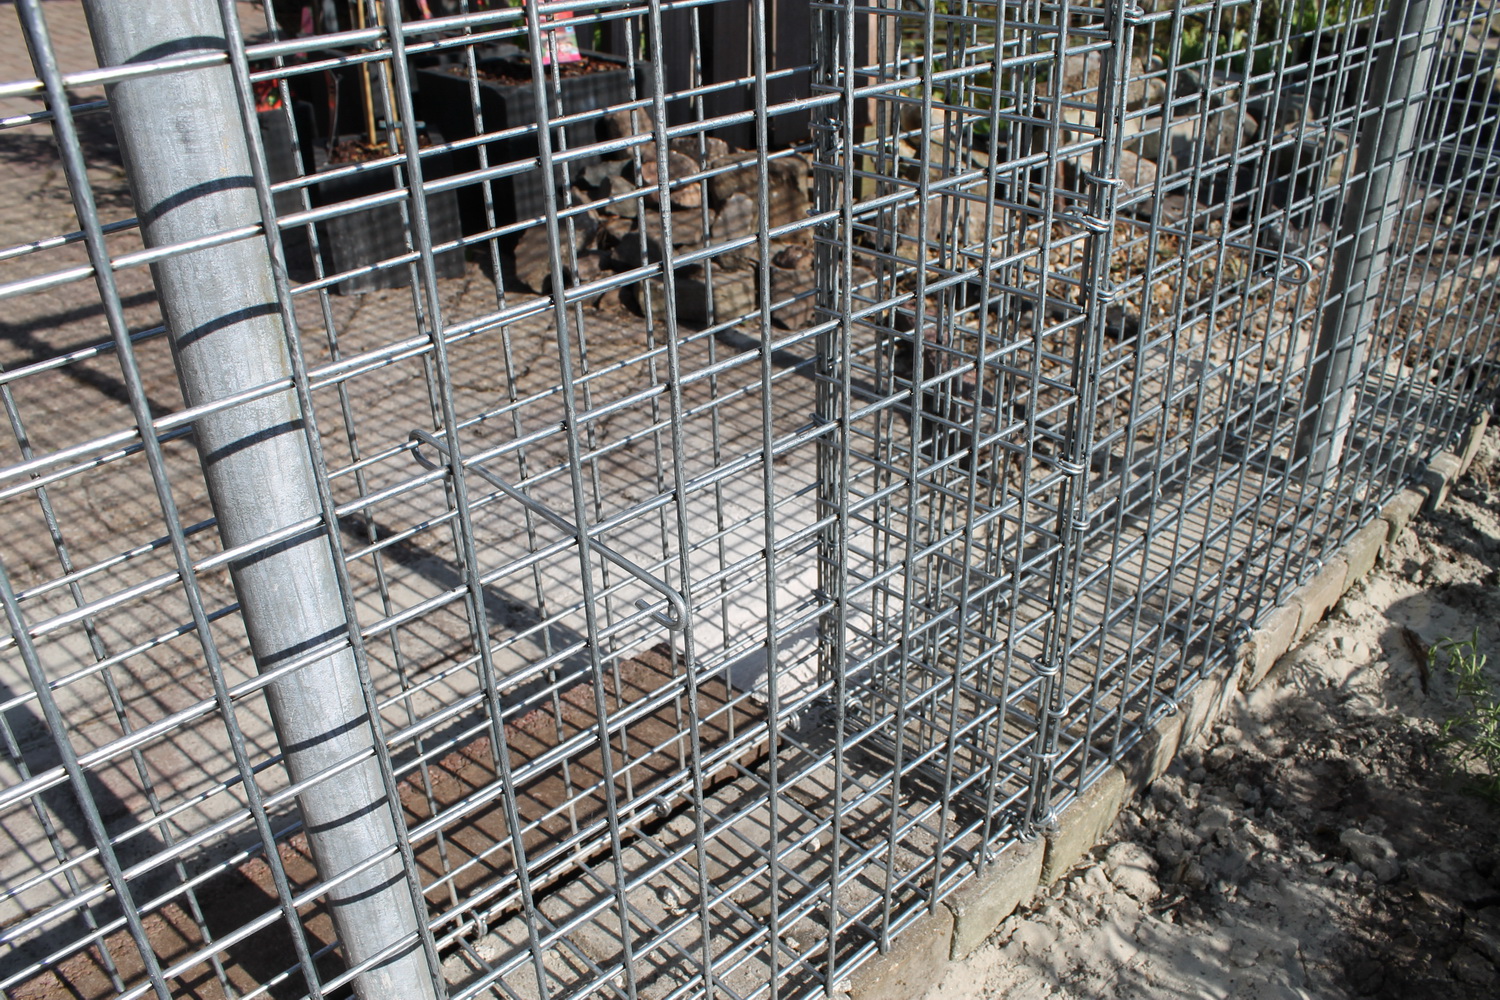
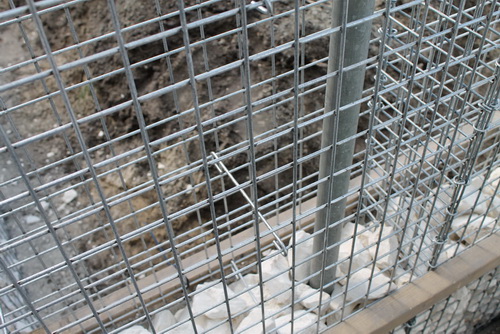
Placing the included hooks (braces) +/- 30 cm apart.
These hooks prevent the gabions from expanding while filling them with rubble stones.
Step 5:
Filling with rubble stones
For the best end result, it is recommended that you fill all gabions evenly with approximately equal layers. As a result, the gabions will stay straight. You can pour the smaller rubble stones in the gabion by using buckets; bigger rubble stones need to be placed in the gabion by hand in the most compact manner with the flat sides facing outside. In this way, you get a properly filled gabion, without too many hollow areas. When you have filled up the gabions, you can hose off the stones immediately with a pressure hose or garden hose to wash off any dust – resulting from the grooves – from the stones.
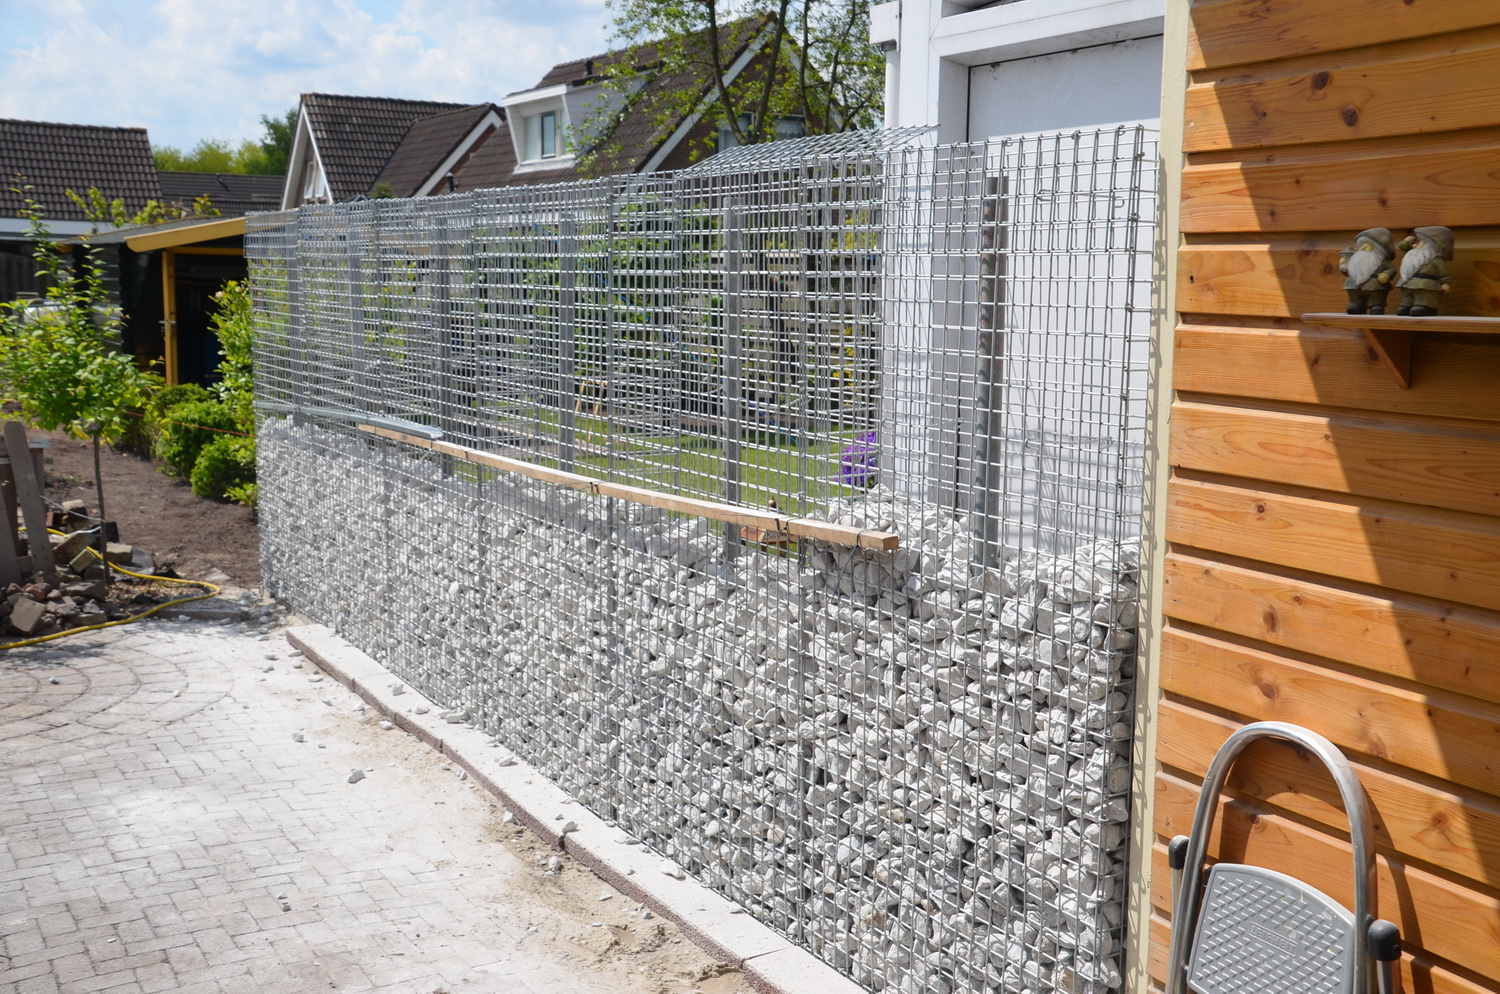
When the cleaning is done, the beautiful colours of your choice of stones will be visible instantly, and you can directly enjoy the end result.
If you are proud of your new garden, we are very curious to see the results. We would appreciate it if you could send us a picture of your garden at the following email address: info@gabinova.com.
